Documentation Index
Fetch the complete documentation index at: https://docs.3dpreppro.com/llms.txt
Use this file to discover all available pages before exploring further.
Layout
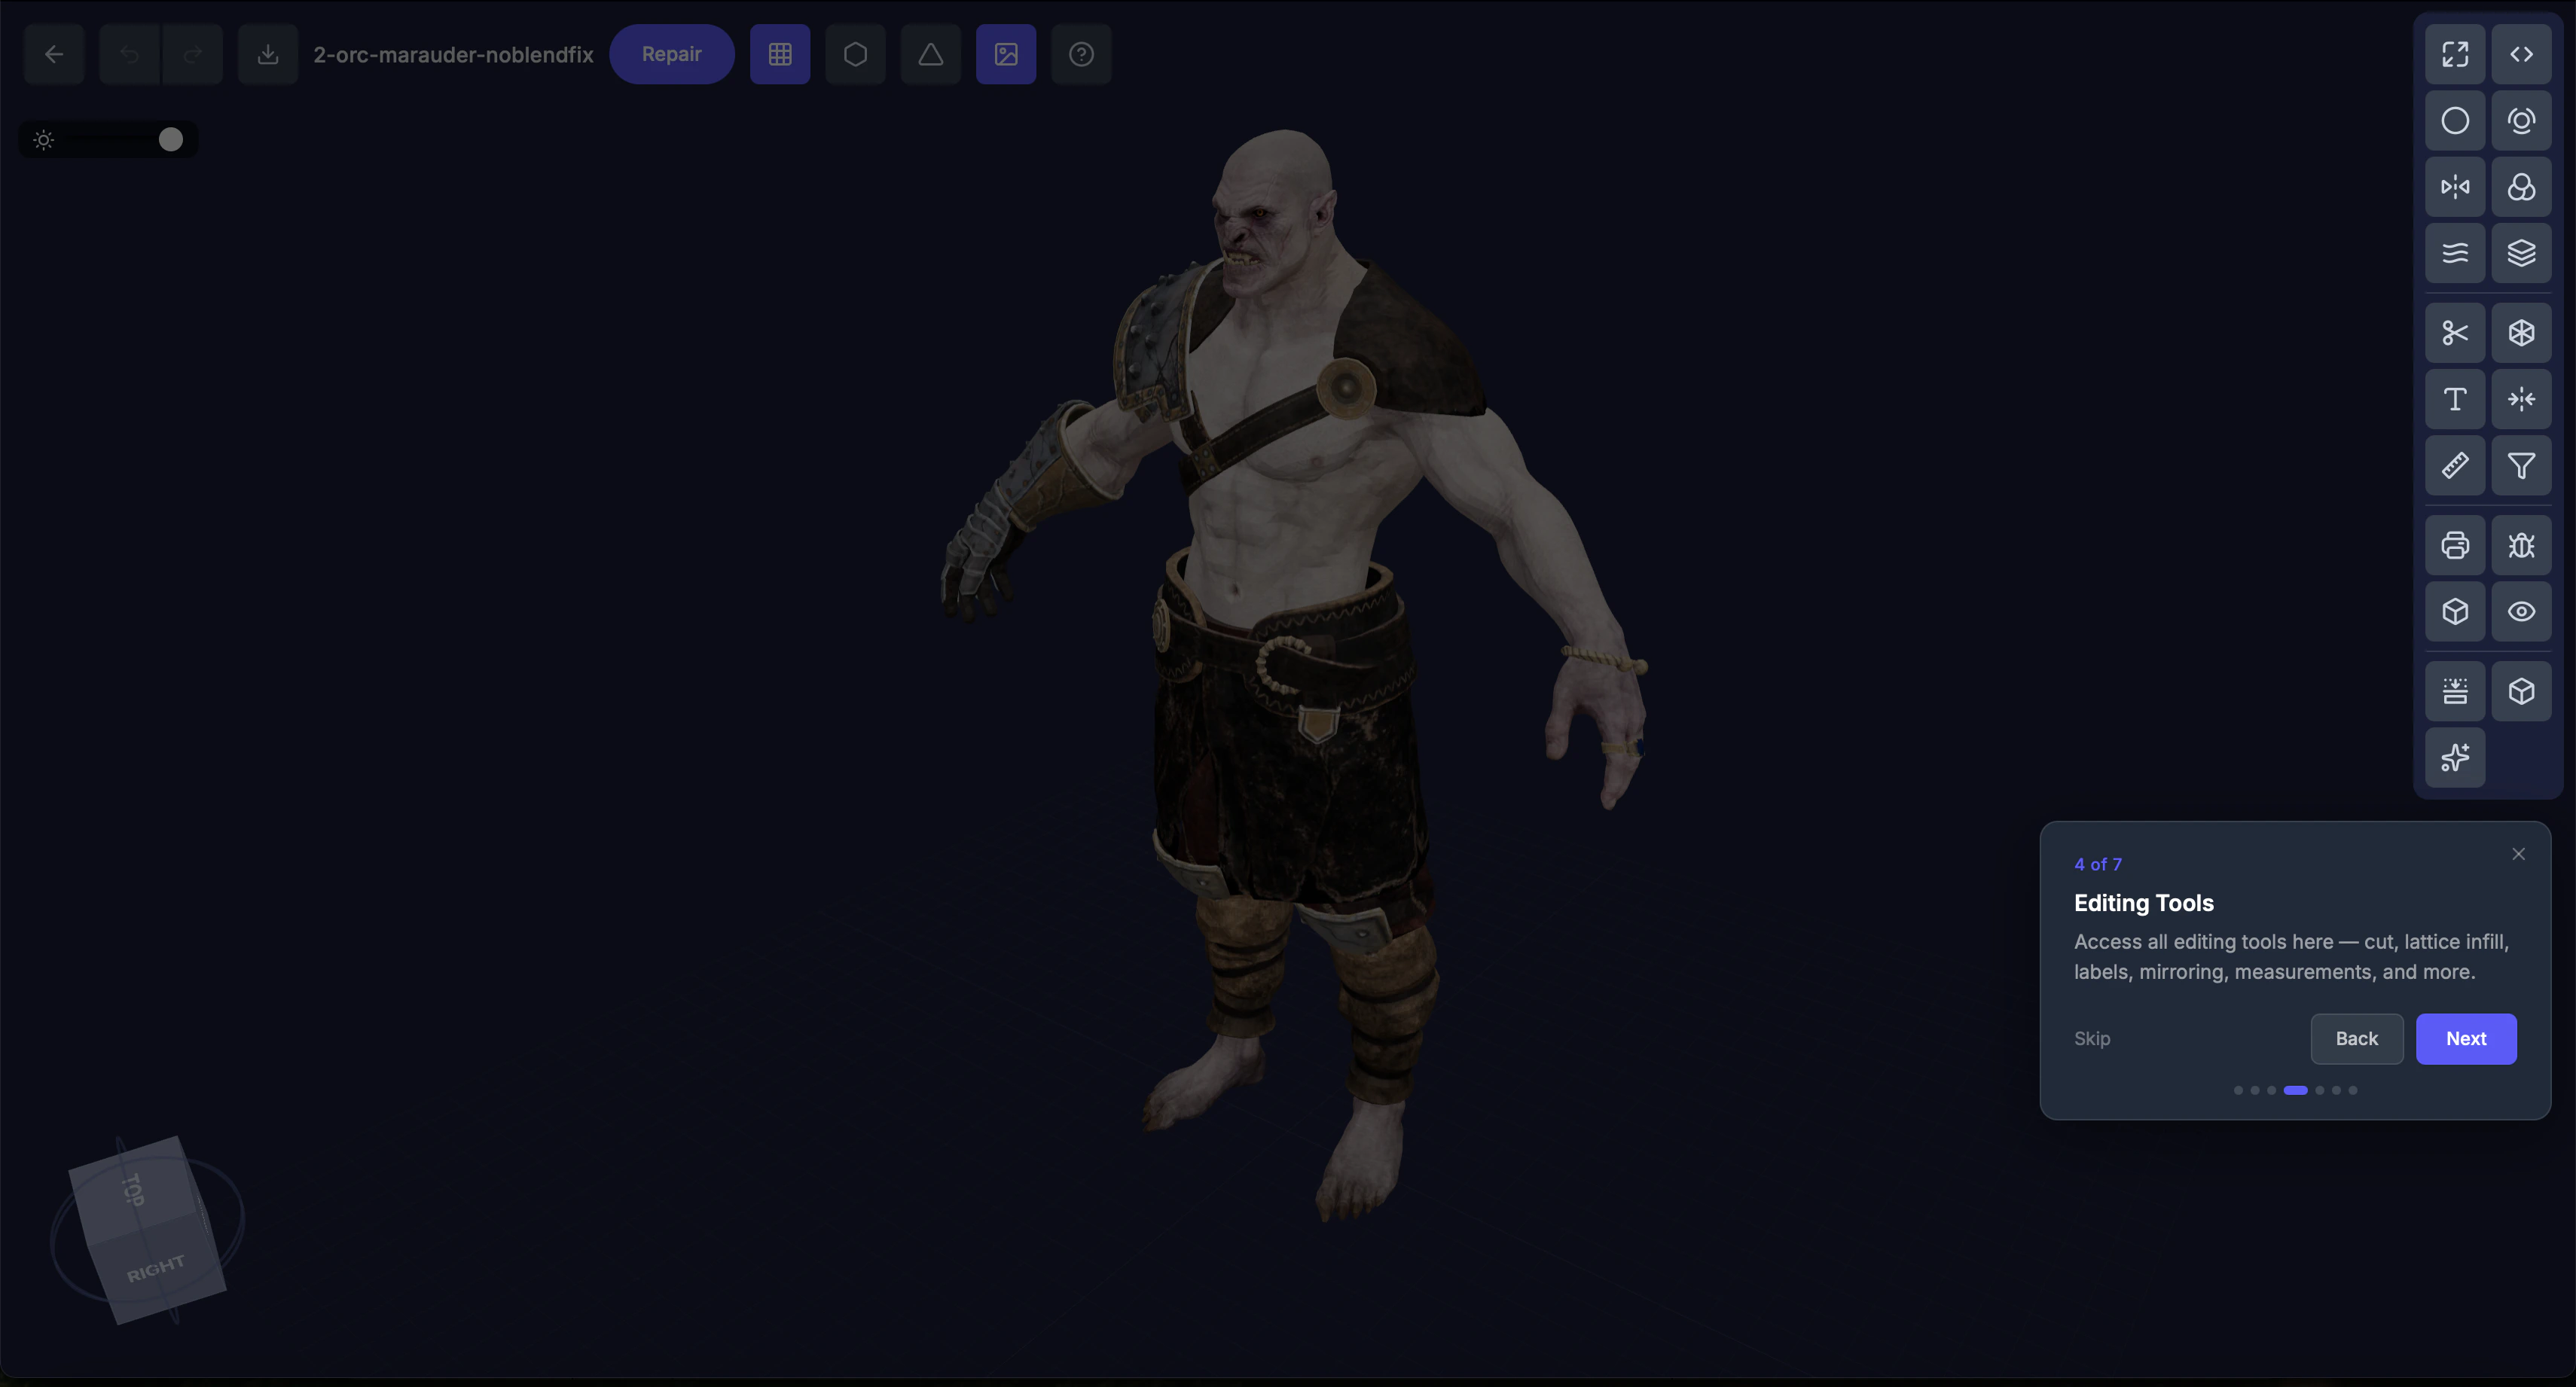
- Header bar — Model name, back button, and file info
- 3D viewport — The main area where your model is displayed. Rotate, pan, and zoom to inspect from every angle.
- Toolbar — Right side, organized into three groups: Pipeline Tools, Interactive Tools, and Inspection Tools
- Settings panel — Opens on the right when you select a tool. Configure options here.
- AI Assistant — Click the sparkle icon at the bottom right to open the AI chat panel
How to open the editor
Click View in 3D from any model detail page or repair detail page. The editor loads your model in the viewport.Working with tools
- Click a tool icon in the toolbar — its settings panel opens on the right
- Adjust settings using the sliders, inputs, and toggles
- Apply the tool (for interactive tools) or the settings carry over to the next repair (for pipeline tools)
Some interactive tools require a repaired (print-ready) model. These tools appear dimmed if your model hasn’t been repaired yet.