

1
Go to the home dashboard
After signing in, you land on the home page with the upload area front and center.
2
Drag your file onto the upload area
Drag your 3D file directly onto the upload zone — or click Browse to pick a file from your computer.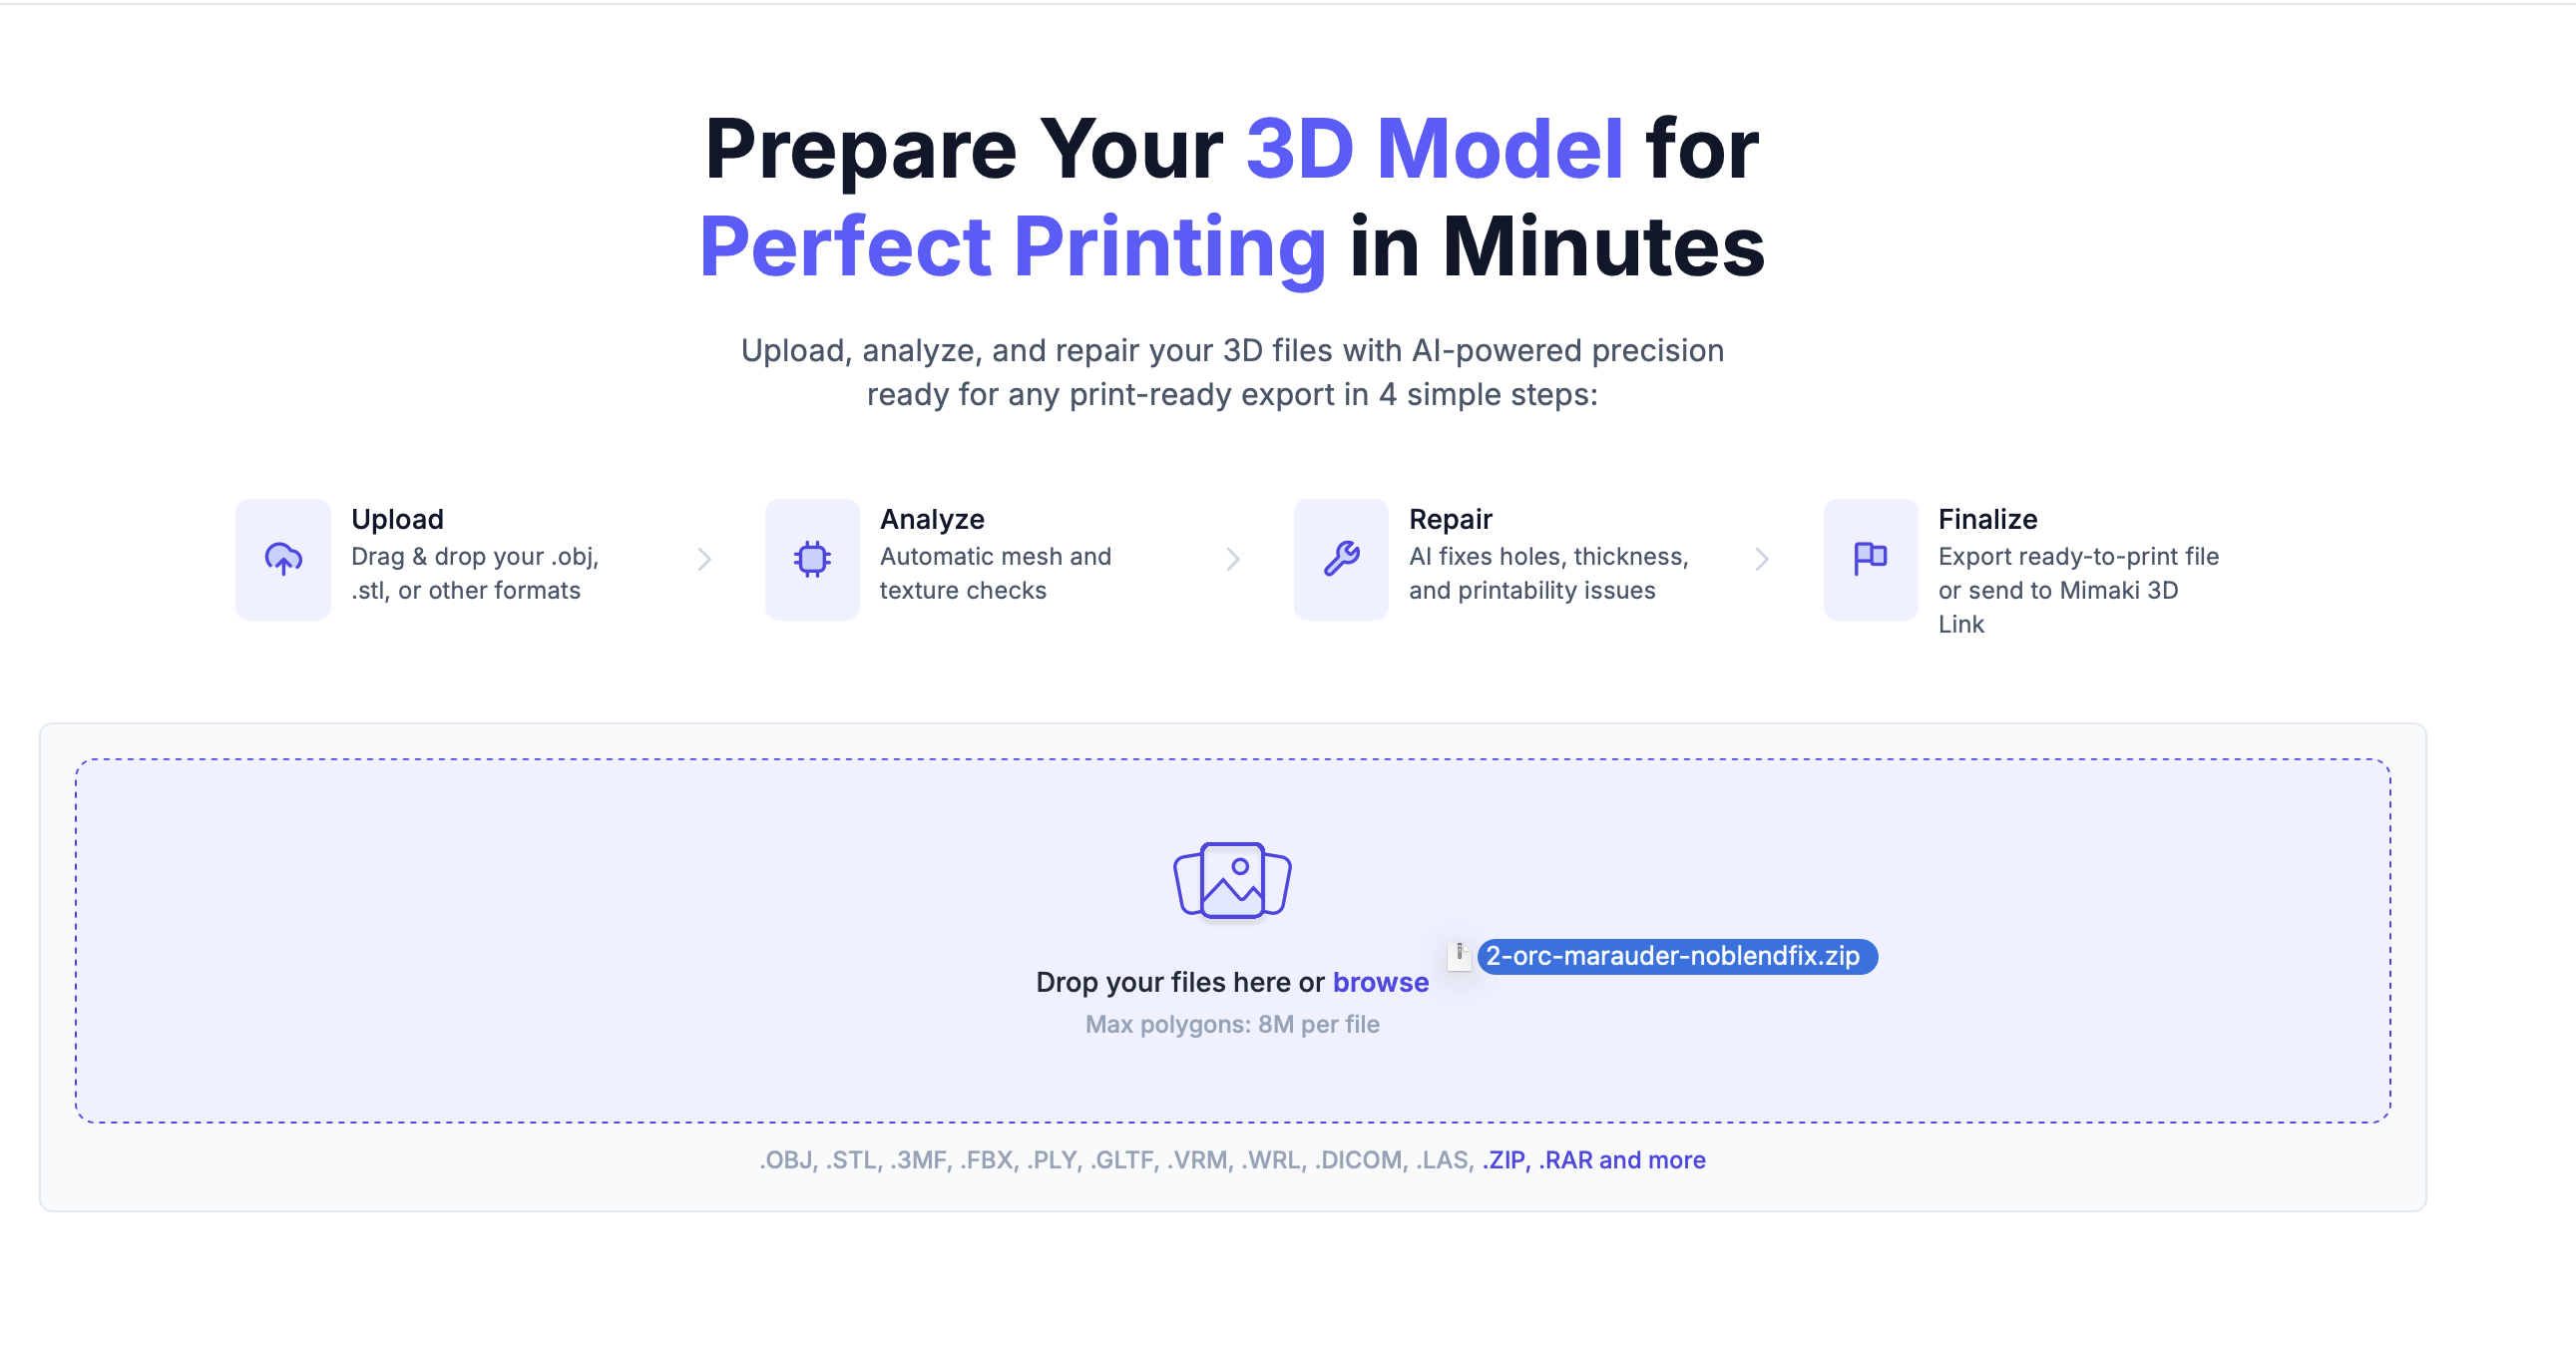
3
Wait for analysis
Your model is uploaded and automatically analyzed. Within a few seconds, 360° thumbnail previews appear and your model shows up in the latest uploads section.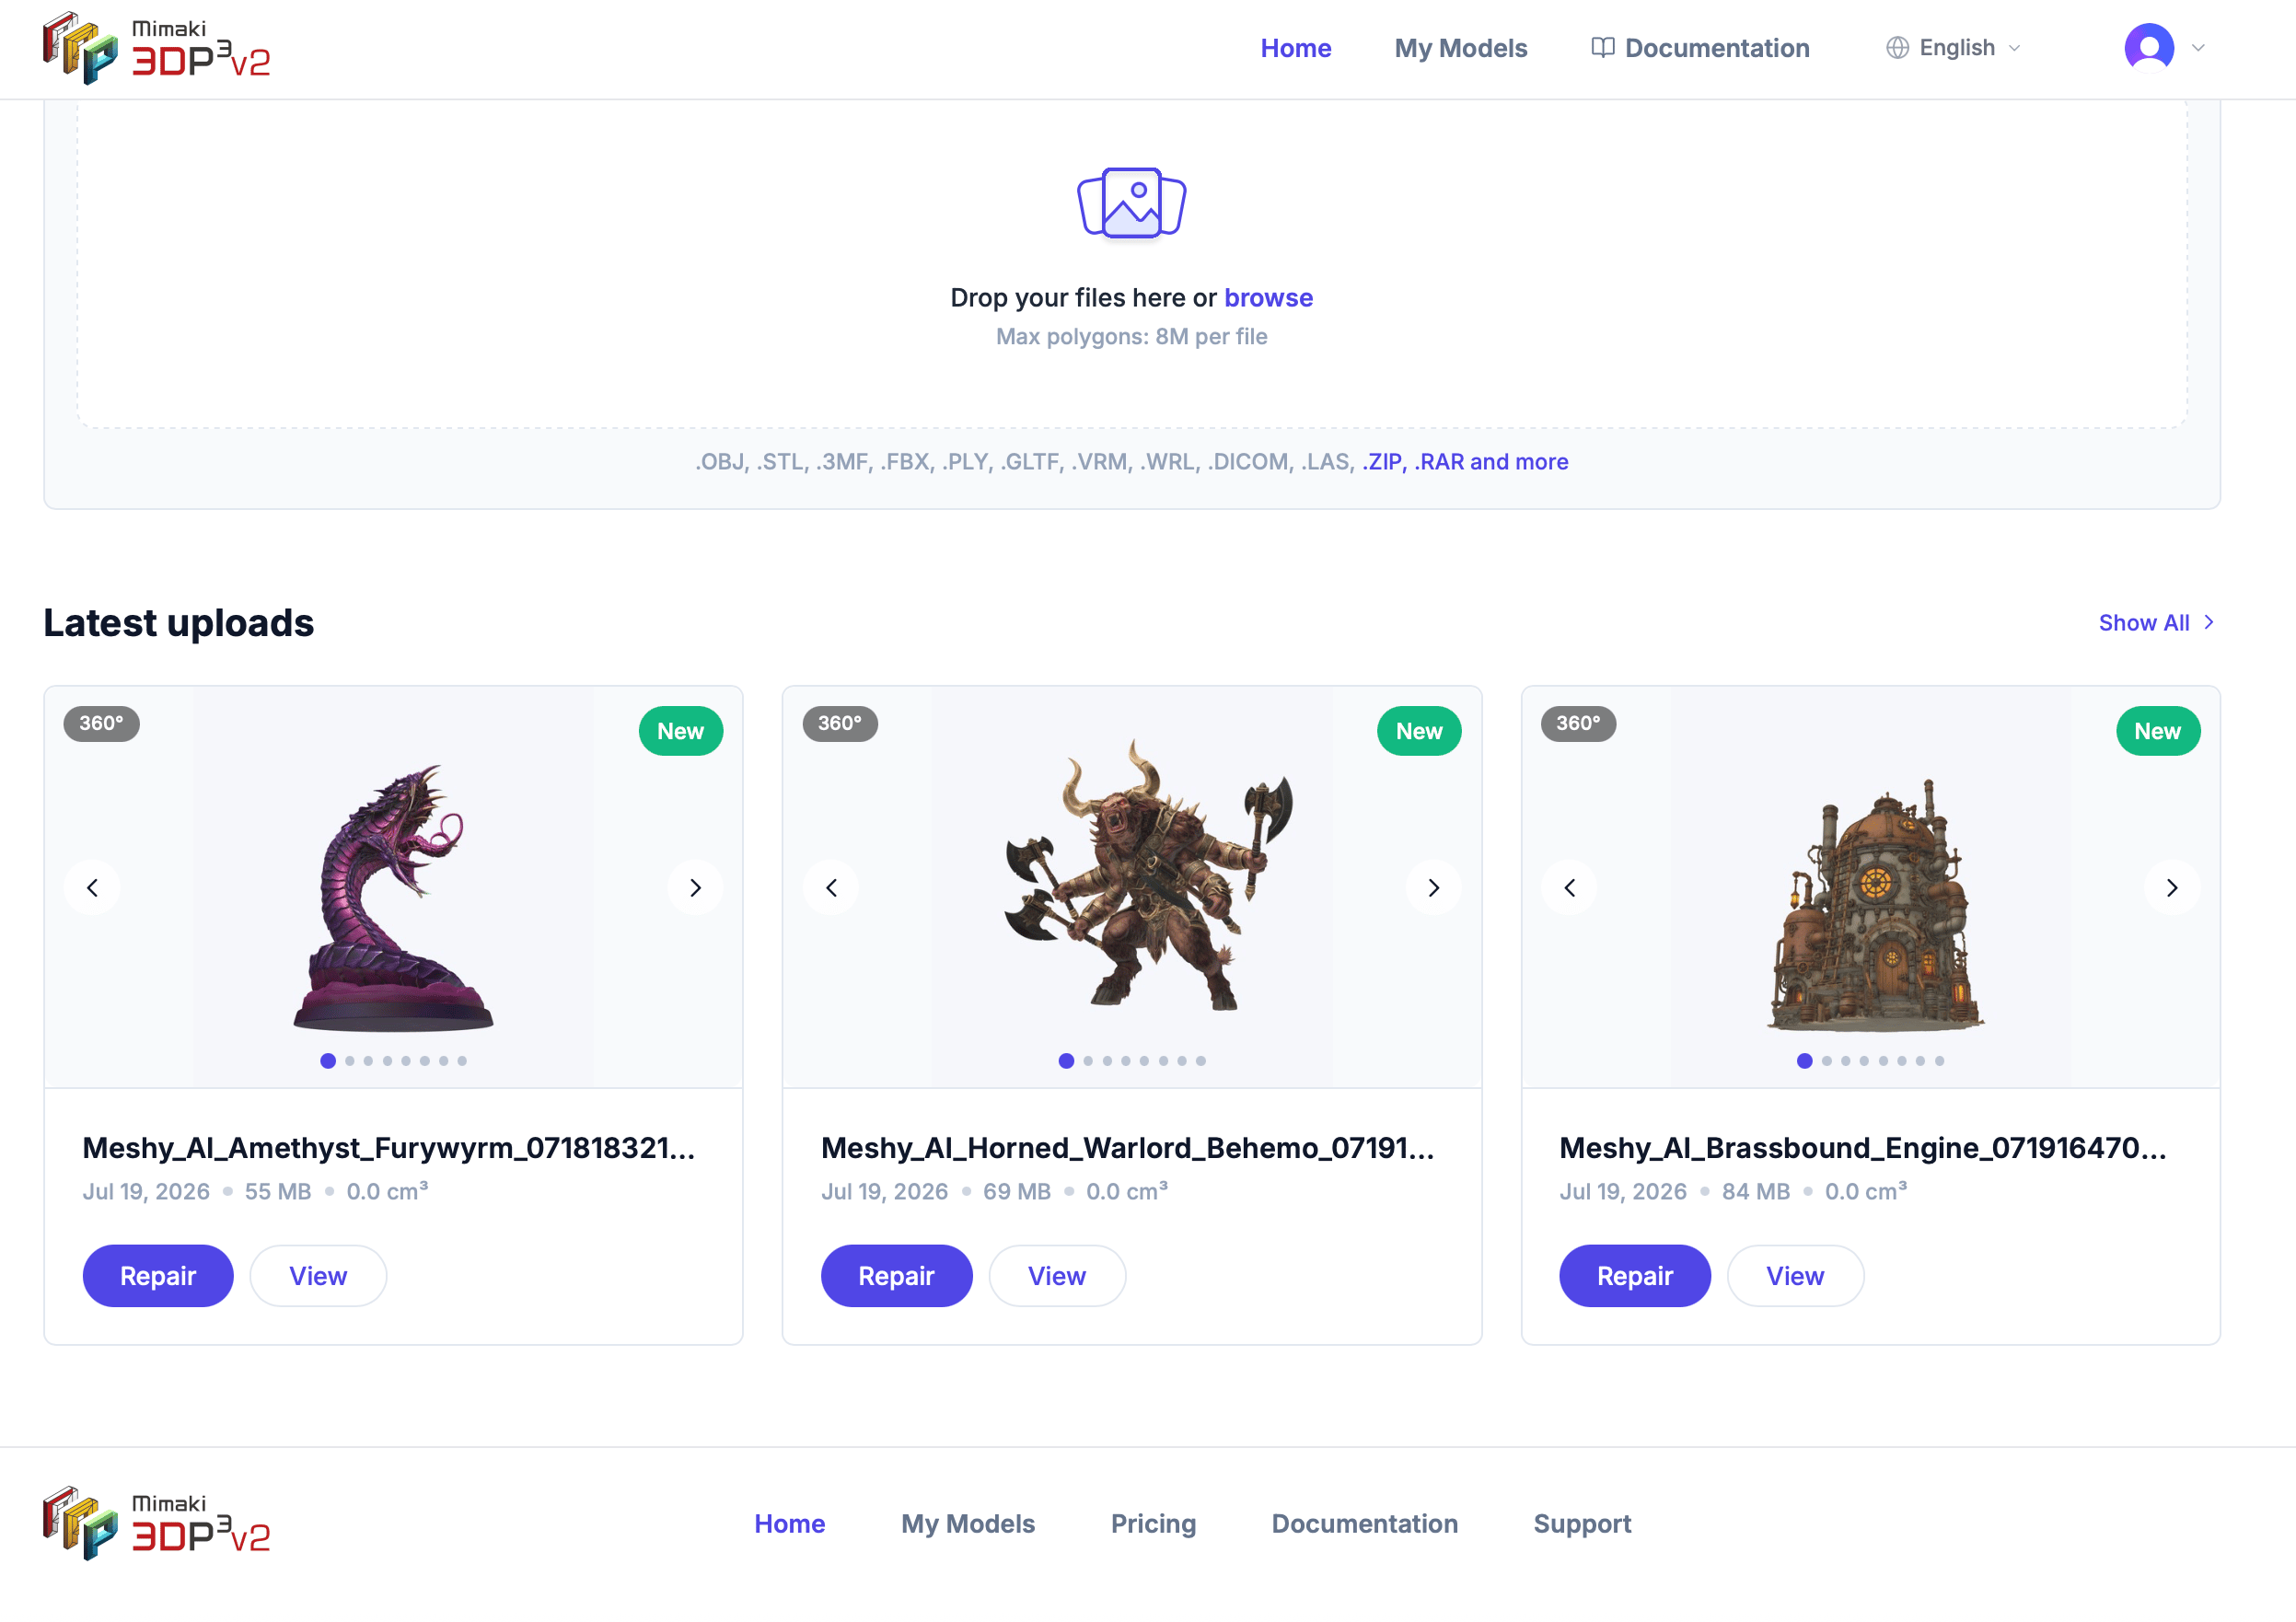
Supported formats: OBJ, STL, 3MF, FBX, PLY, GLTF/GLB, VRM, WRL, DICOM (.dcm), LAS/LAZ. You can also upload ZIP and RAR archives — we automatically extract the 3D files inside.
DICOM (medical imaging) files open the DICOM Segmentation dialog after upload, where you define tissue density (HU) ranges to segment the scan into separate 3D parts. Completing this step is required before analysis runs. LAS/LAZ (LiDAR point cloud) files upload directly with no extra configuration step. See Uploading files for details.