

How to set up your Mimaki account
1
Sign up through the Mimaki page
Visit the Mimaki signup page. You can sign up with email, Google, or Apple.
2
Verify your printer ownership
After creating your account, open the printer verification page at
/account/printer-verification (also reachable from your Account Settings) and enter your Mimaki printer’s serial number.3
Wait for Mimaki approval
A Mimaki admin reviews and approves your submission. While your request is pending, the page shows a “Waiting for Mimaki admin review” status and checks for updates every 10 seconds — you can also select Check now. Once approved, the desktop fixer engine is activated.
4
Subscribe
Proceed to checkout for the $60/month plan. If your account is trial-eligible, a 30-day free trial applies.
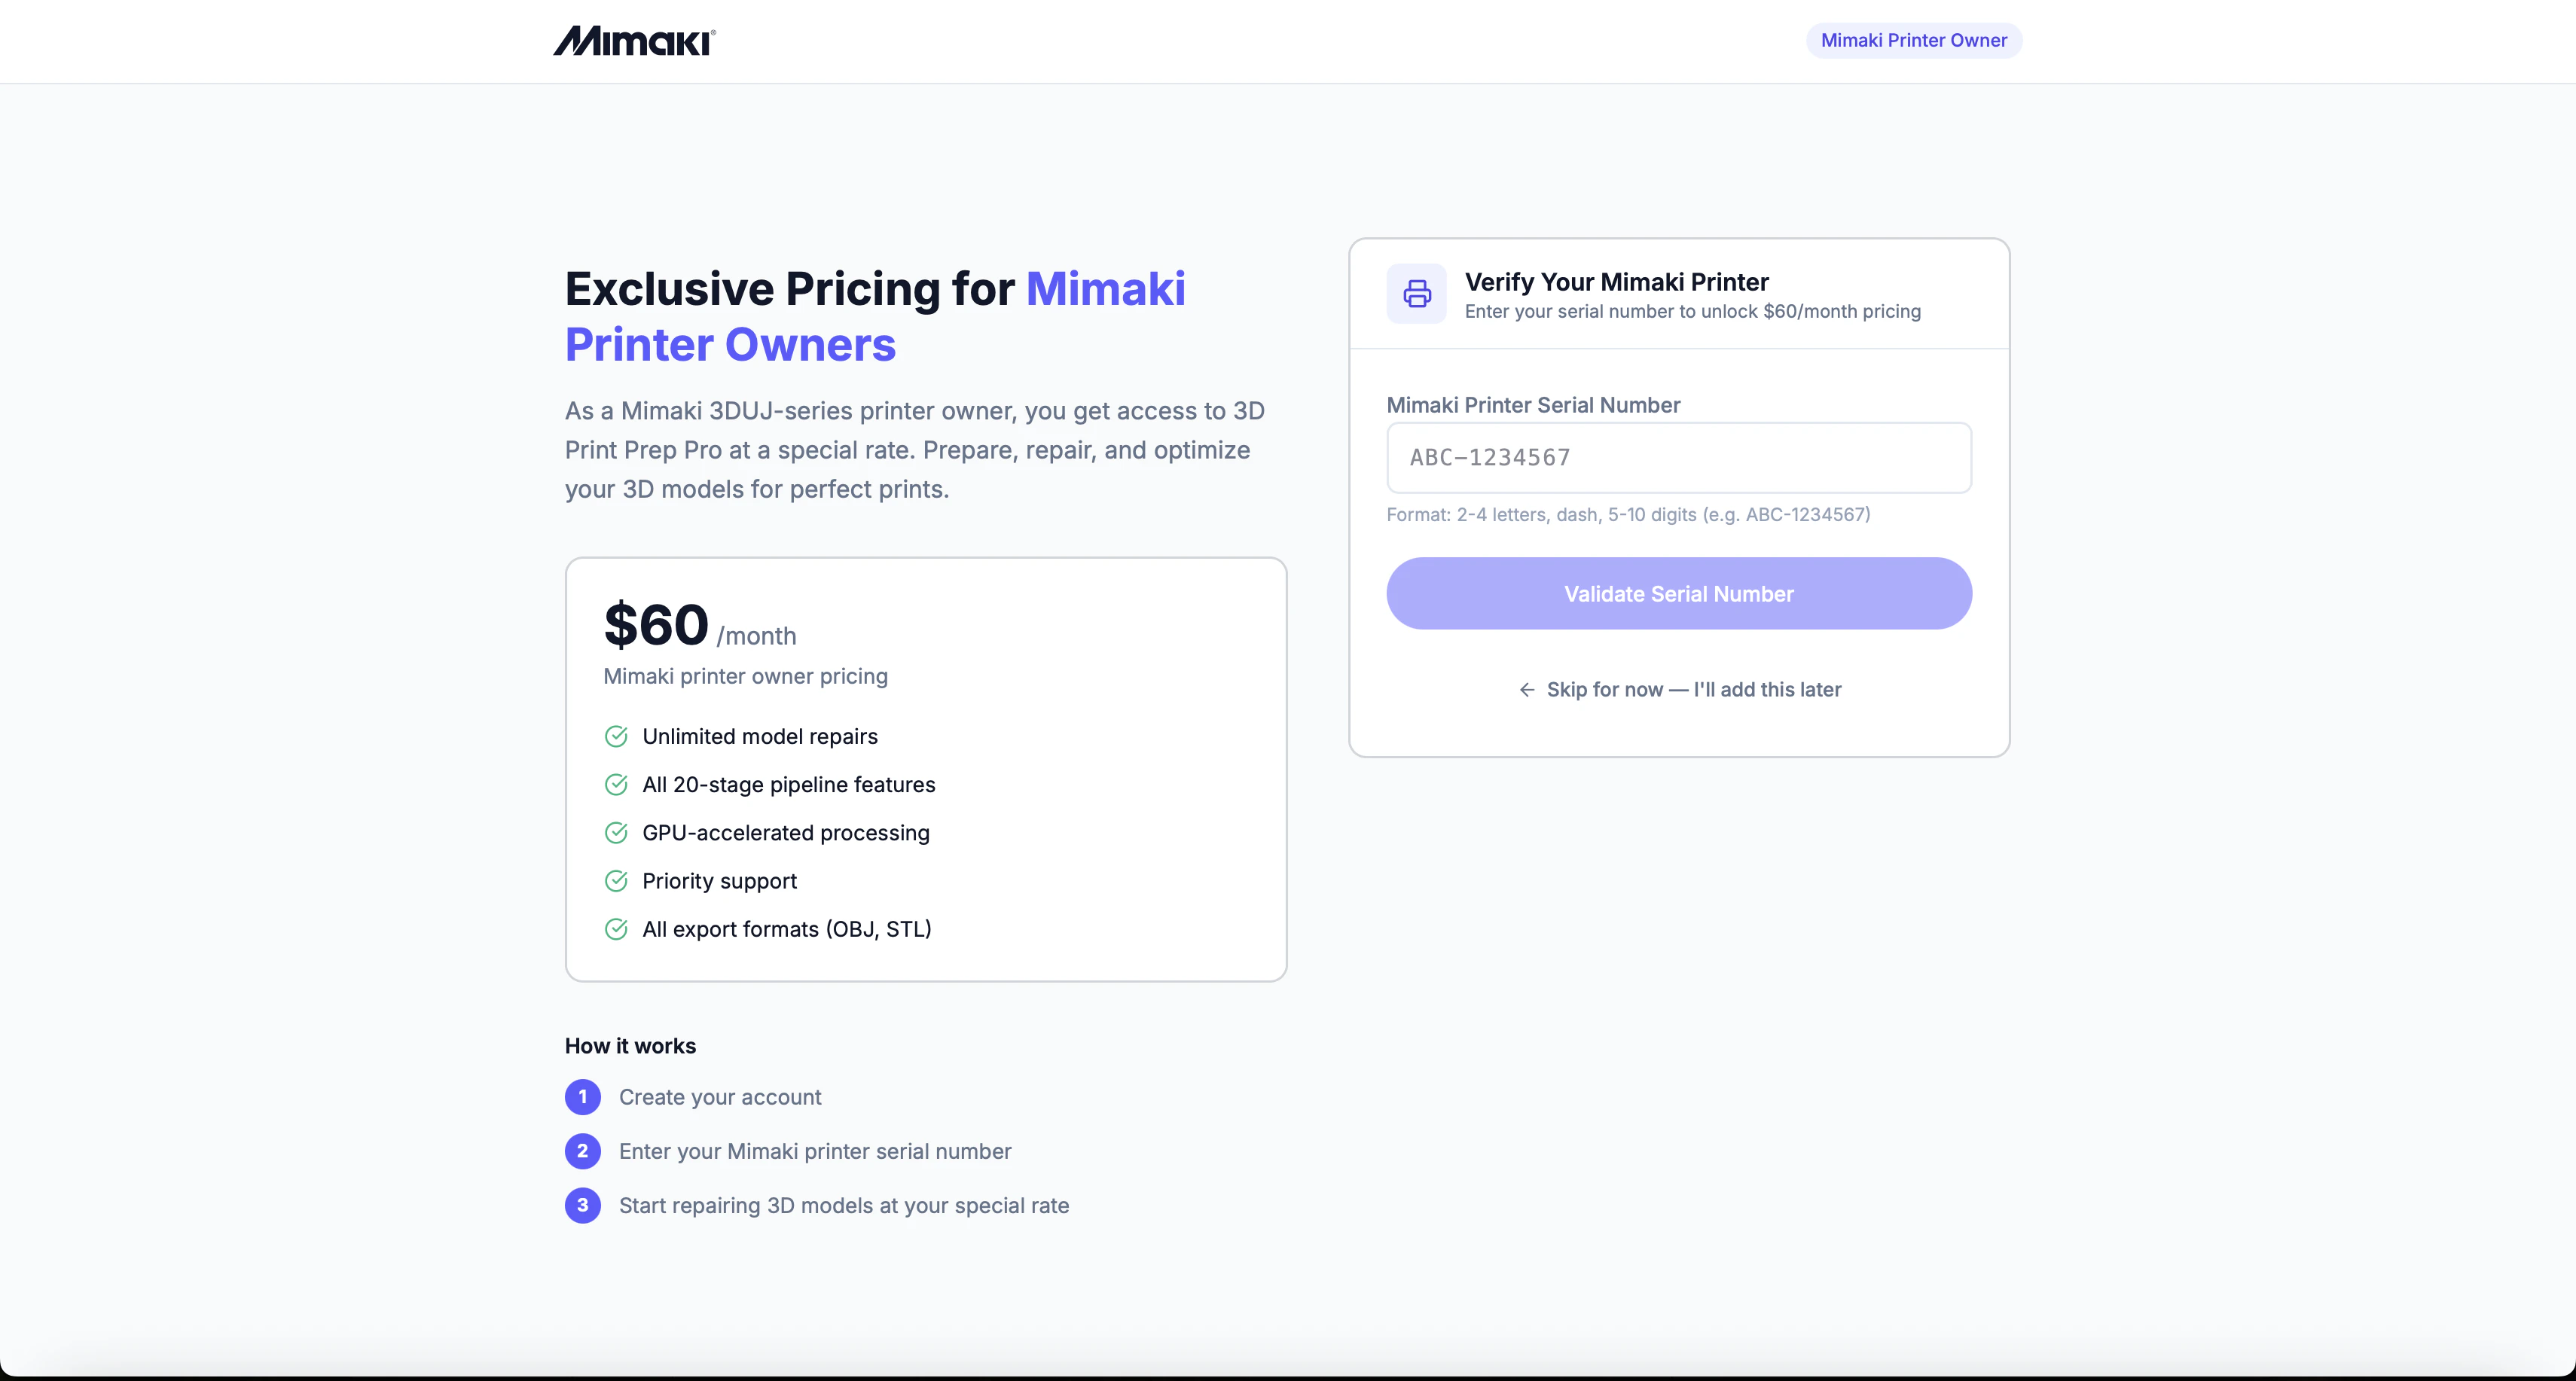
Serial number format
Your serial number is printed on a label on the back or underside of your Mimaki 3D printer. For example: 3DUJ-553-A12345. There’s no strict format requirement — enter the serial exactly as printed. It can be up to 64 characters long.Don’t have your serial number handy? You can create your account first and verify your printer ownership later from your Account Settings.