> ## Documentation Index
> Fetch the complete documentation index at: https://docs.3dpreppro.com/llms.txt
> Use this file to discover all available pages before exploring further.
# How repair works
> A fully automated process that fixes your model for 3D printing
 The repair process automatically scans your 3D model for printing issues and fixes them — all while preserving your colors, textures, and details.
## What repair does
* **Fills holes and gaps** in the surface so your model is completely sealed
* **Thickens thin walls** that would break during printing
* **Removes floating debris** and disconnected fragments
* **Fixes surface errors** like inside-out faces and overlapping geometry
* **Optimizes geometry** to reduce file size without losing visible detail
* **Calculates volume and dimensions** for cost estimation
## Repair stages
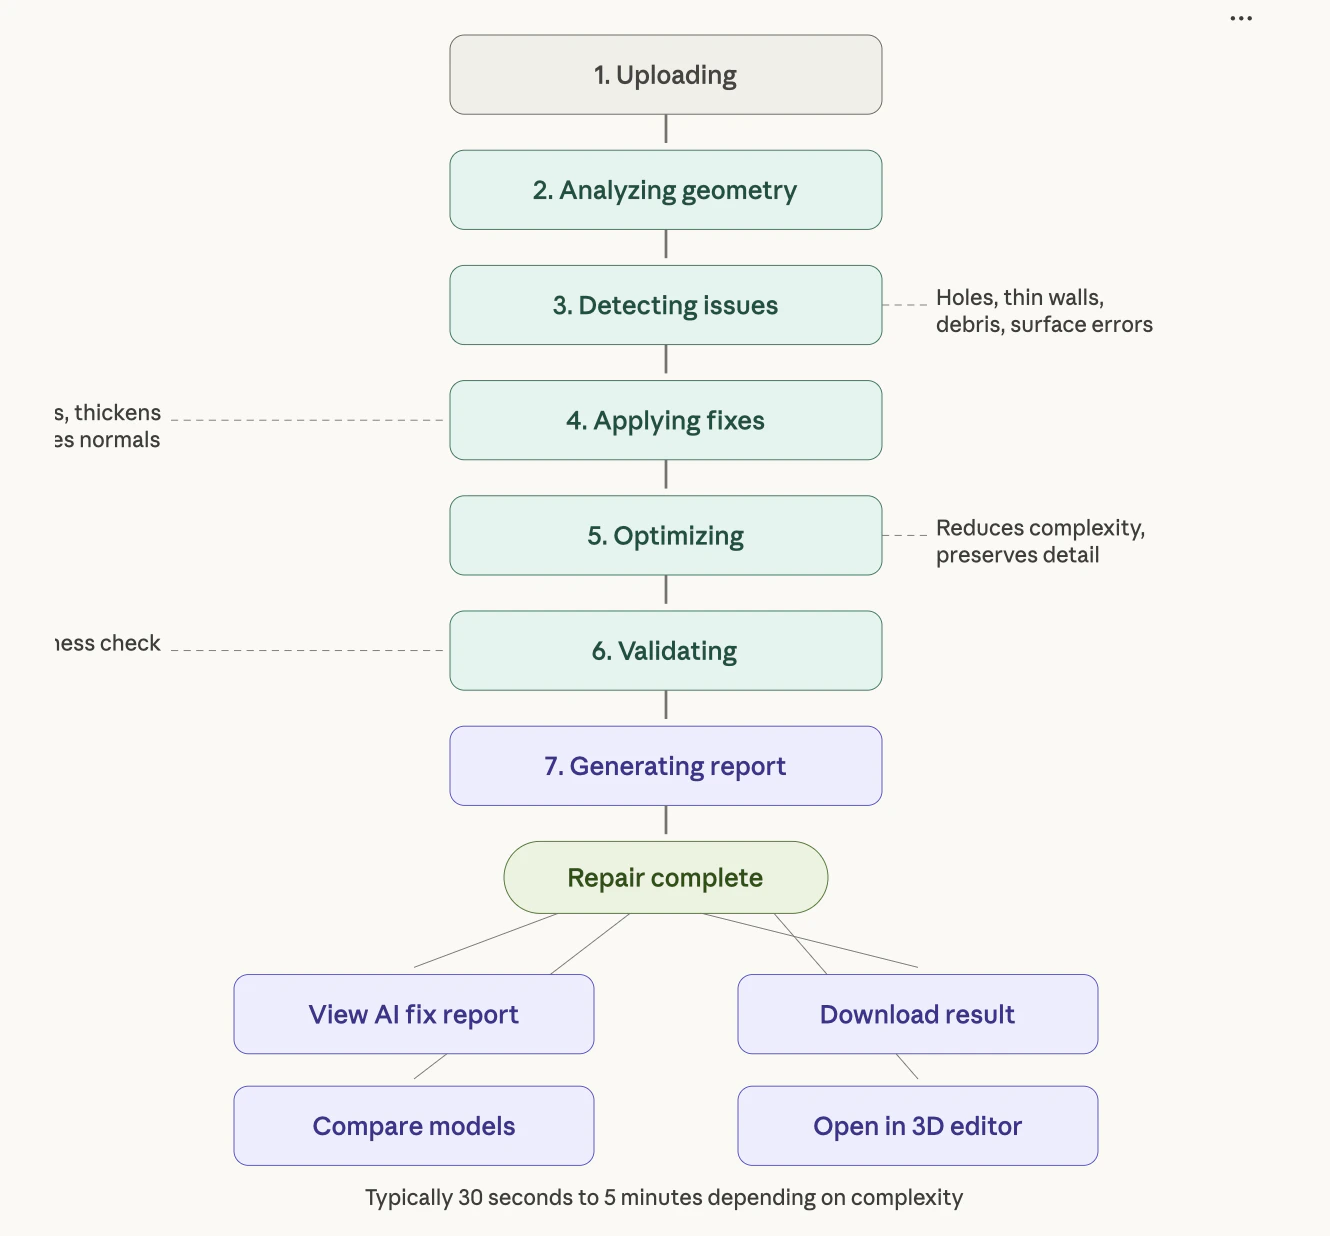
When you start a repair, you see a progress bar moving through these stages:
1. **Uploading** — Sending your model to our servers
2. **Analyzing geometry** — Scanning for structural issues
3. **Detecting issues** — Identifying thin walls, holes, and non-printable areas
4. **Applying fixes** — Automatically repairing all detected issues
5. **Optimizing** — Reducing complexity while preserving detail
6. **Validating** — Final check to ensure print-readiness
7. **Generating report** — Creating the [AI fix report](/repair/ai-fix-report)
The entire process usually takes **30 seconds to 5 minutes** depending on model complexity; DICOM repairs scale with the number of selected segments.
You can **cancel a repair at any time** by clicking the Cancel button on the progress overlay. Your original model is never modified.
## What happens after repair
Once complete, you're taken to the repair detail page where you can:
* View the [AI fix report](/repair/ai-fix-report) explaining what was found and fixed
* Compare the original and repaired models [side by side](/editor/3d-viewer)
* [Download](/getting-started/download-results) the result in OBJ, STL, GLB, or 3MF
* Open the repaired model in the [3D editor](/editor/overview) for further modifications
The repair process automatically scans your 3D model for printing issues and fixes them — all while preserving your colors, textures, and details.
## What repair does
* **Fills holes and gaps** in the surface so your model is completely sealed
* **Thickens thin walls** that would break during printing
* **Removes floating debris** and disconnected fragments
* **Fixes surface errors** like inside-out faces and overlapping geometry
* **Optimizes geometry** to reduce file size without losing visible detail
* **Calculates volume and dimensions** for cost estimation
## Repair stages
When you start a repair, you see a progress bar moving through these stages:
1. **Uploading** — Sending your model to our servers
2. **Analyzing geometry** — Scanning for structural issues
3. **Detecting issues** — Identifying thin walls, holes, and non-printable areas
4. **Applying fixes** — Automatically repairing all detected issues
5. **Optimizing** — Reducing complexity while preserving detail
6. **Validating** — Final check to ensure print-readiness
7. **Generating report** — Creating the [AI fix report](/repair/ai-fix-report)
The entire process usually takes **30 seconds to 5 minutes** depending on model complexity; DICOM repairs scale with the number of selected segments.
You can **cancel a repair at any time** by clicking the Cancel button on the progress overlay. Your original model is never modified.
## What happens after repair
Once complete, you're taken to the repair detail page where you can:
* View the [AI fix report](/repair/ai-fix-report) explaining what was found and fixed
* Compare the original and repaired models [side by side](/editor/3d-viewer)
* [Download](/getting-started/download-results) the result in OBJ, STL, GLB, or 3MF
* Open the repaired model in the [3D editor](/editor/overview) for further modifications