> ## Documentation Index
> Fetch the complete documentation index at: https://docs.3dpreppro.com/llms.txt
> Use this file to discover all available pages before exploring further.
# Home dashboard
> Your starting point every time you open 3D Prep Pro
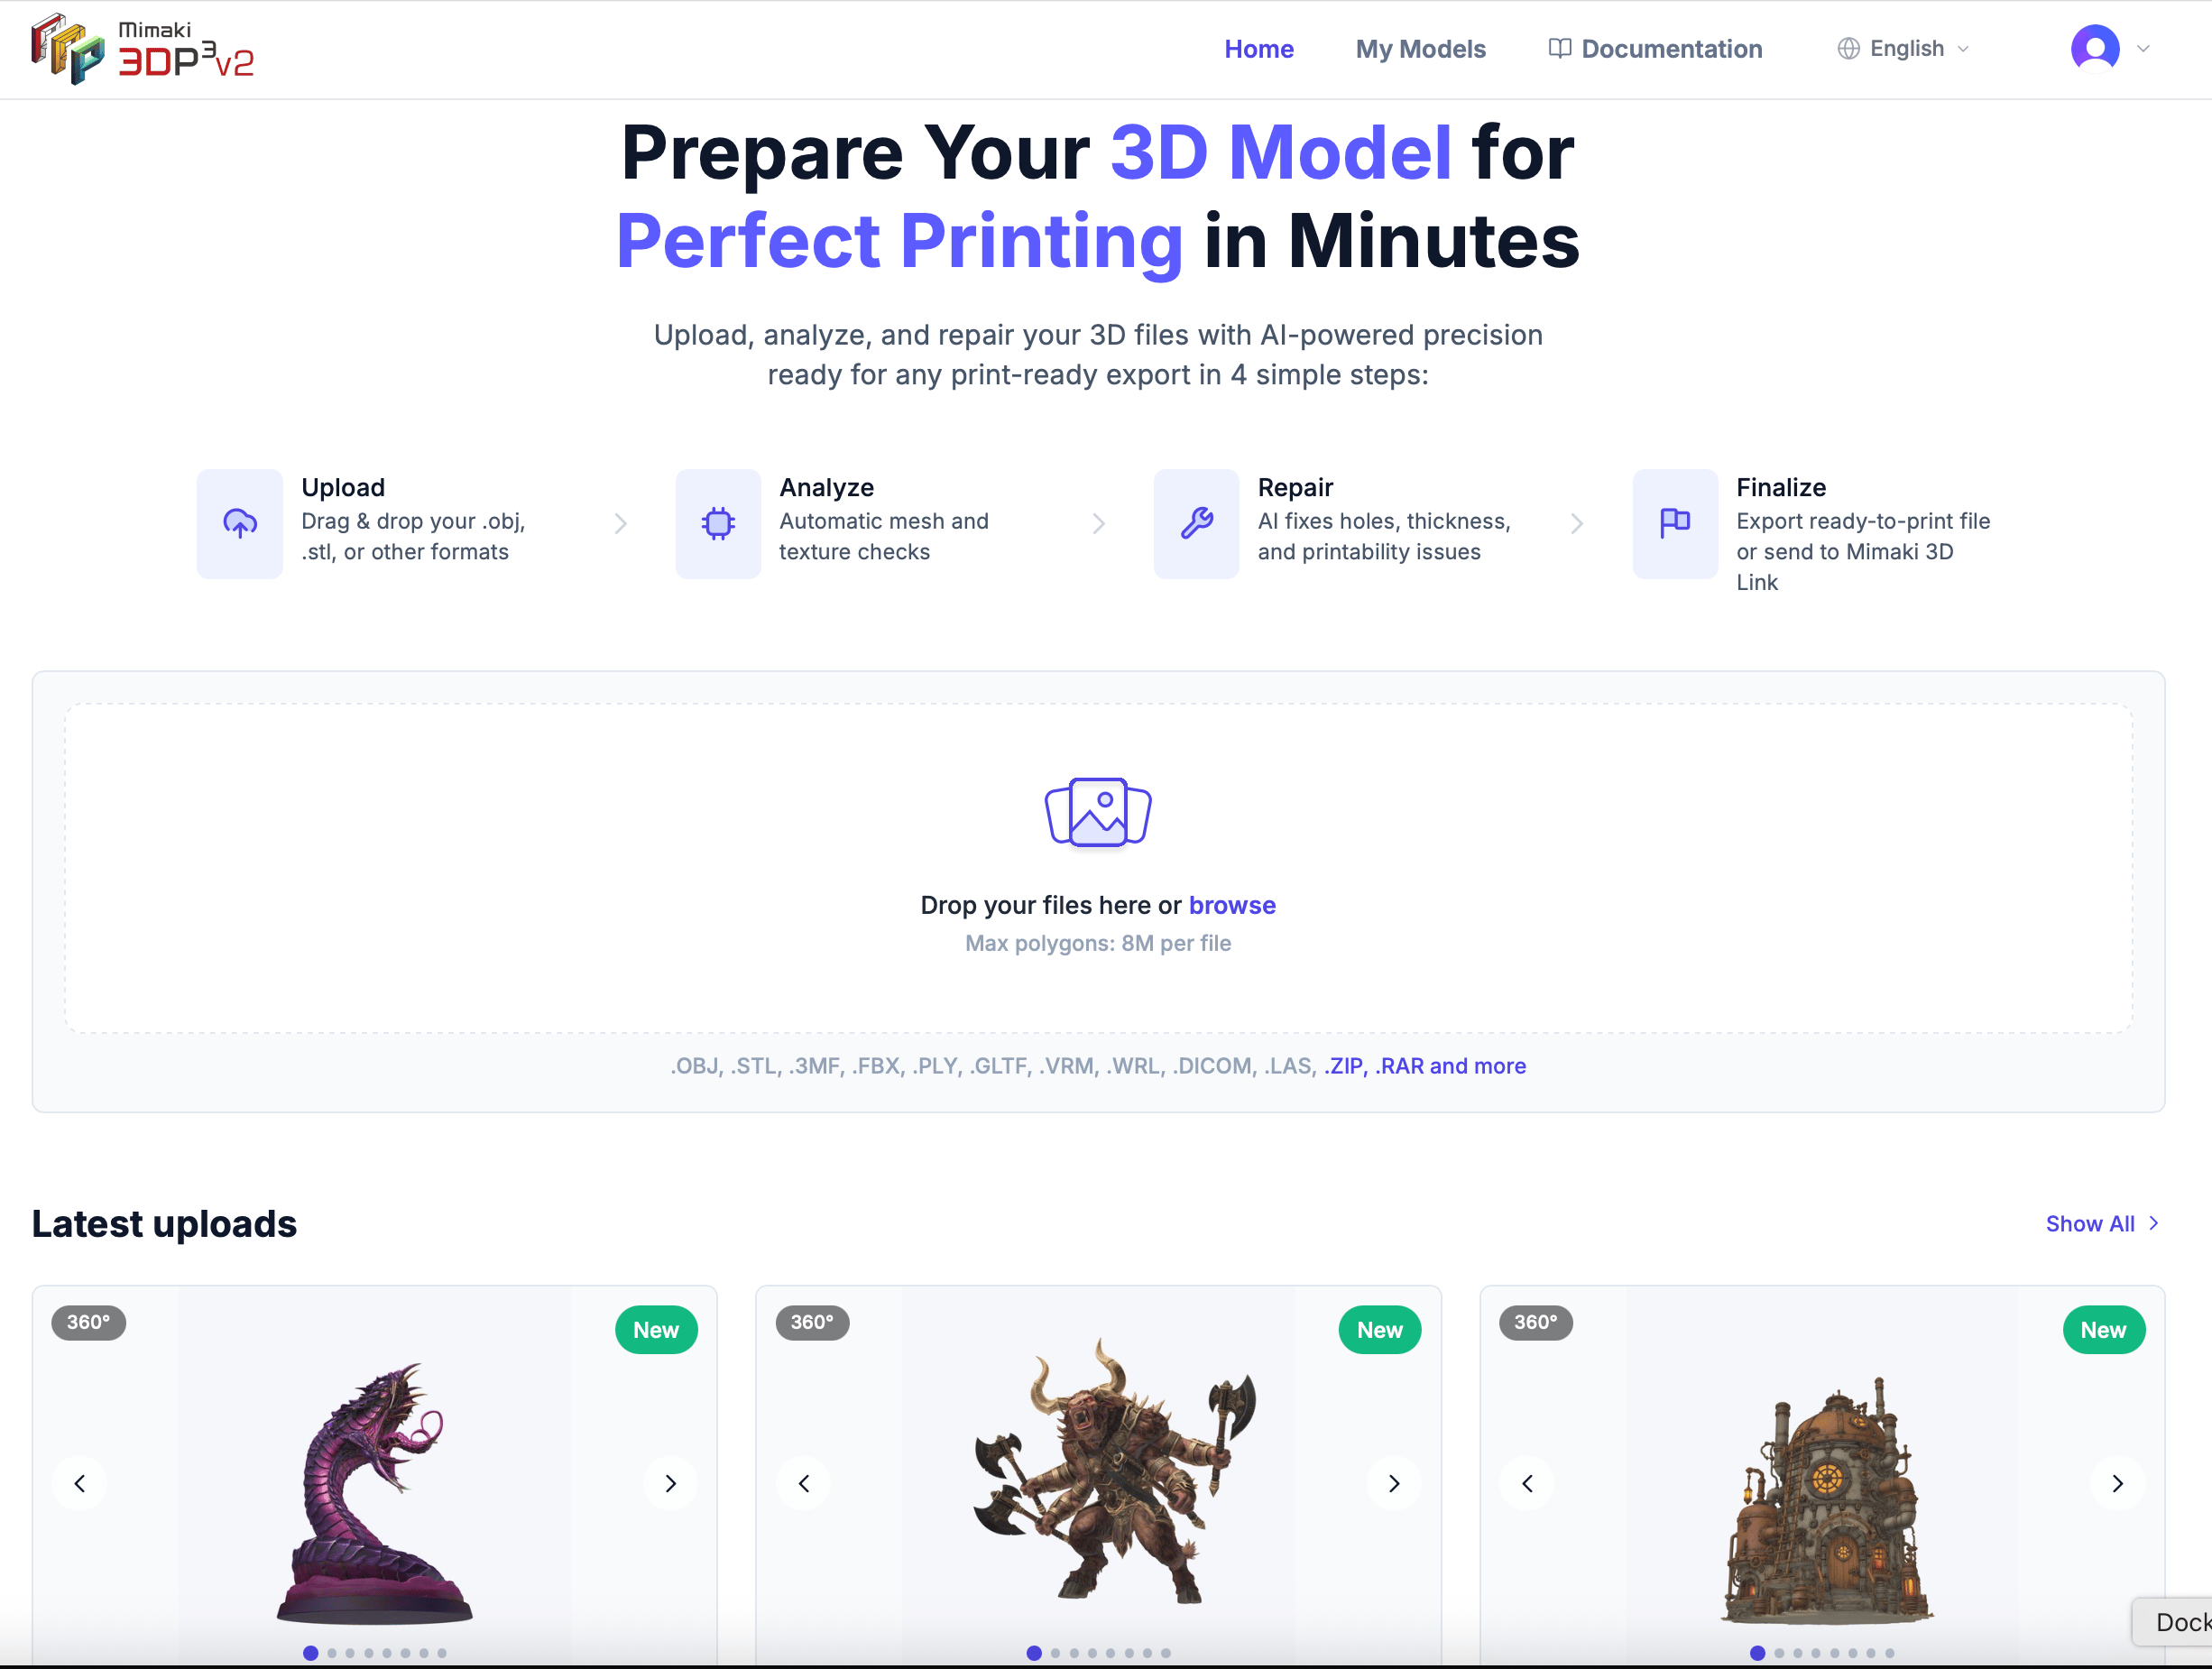 The home dashboard is the first thing you see after signing in. It's designed to get you from upload to repair as quickly as possible.
## What's on the dashboard
### Upload area
The large upload zone at the top lets you drag and drop files immediately. You can also click **Browse** to pick files from your computer.
### How it works
A visual 4-step guide shows the workflow: **Upload → Analyze → Repair → Finalize**. This is the core flow you'll follow every time. Finalize covers exporting a print-ready file or sending it to Mimaki 3D Link.
### Latest uploads
Your three most recently uploaded models appear at the bottom with 360° thumbnail previews. Click any model card to view its details, or click **Show All** to browse your full library.
## What happens after upload
When you drop a file onto the upload area:
1. The file uploads to our servers (you see a progress bar)
2. We automatically analyze the model — scanning geometry, calculating dimensions and volume
3. 360° thumbnail images are rendered from multiple angles
4. The model card appears in your latest uploads section, ready to repair
You can upload multiple files at once. Each file is processed independently and appears in your library as it completes.
The home dashboard is the first thing you see after signing in. It's designed to get you from upload to repair as quickly as possible.
## What's on the dashboard
### Upload area
The large upload zone at the top lets you drag and drop files immediately. You can also click **Browse** to pick files from your computer.
### How it works
A visual 4-step guide shows the workflow: **Upload → Analyze → Repair → Finalize**. This is the core flow you'll follow every time. Finalize covers exporting a print-ready file or sending it to Mimaki 3D Link.
### Latest uploads
Your three most recently uploaded models appear at the bottom with 360° thumbnail previews. Click any model card to view its details, or click **Show All** to browse your full library.
## What happens after upload
When you drop a file onto the upload area:
1. The file uploads to our servers (you see a progress bar)
2. We automatically analyze the model — scanning geometry, calculating dimensions and volume
3. 360° thumbnail images are rendered from multiple angles
4. The model card appears in your latest uploads section, ready to repair
You can upload multiple files at once. Each file is processed independently and appears in your library as it completes.