> ## Documentation Index
> Fetch the complete documentation index at: https://docs.3dpreppro.com/llms.txt
> Use this file to discover all available pages before exploring further.
# スケール設定
> モデルを必要なプリント寸法に正確にリサイズします
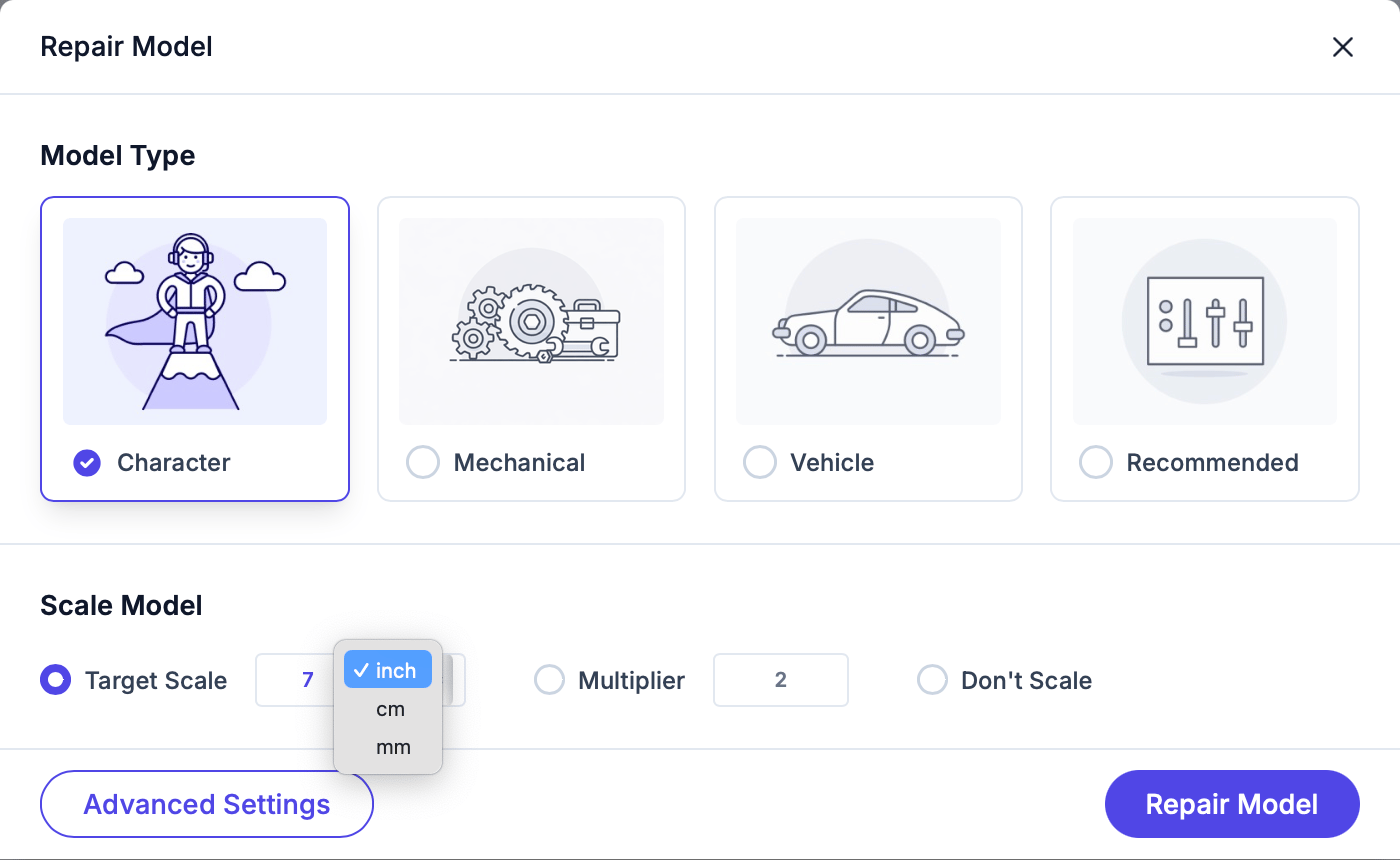
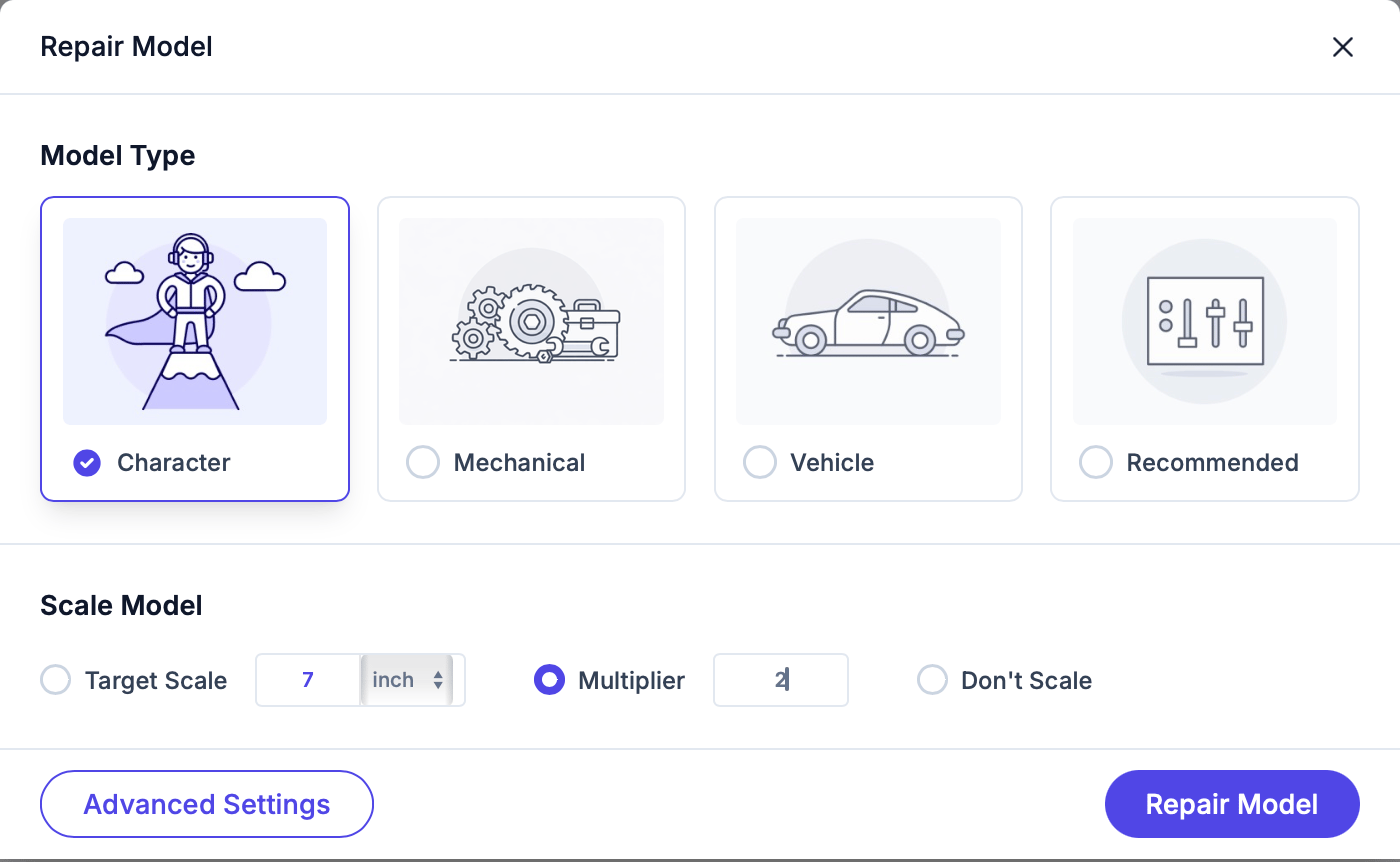
スケール設定では、修復中にモデルのサイズを変更できます。3つのモードから選択してください:
モデルの最も長い辺を特定のサイズに設定します。例えば、「高さ6インチ」や「幅150mm」などです。
単位を選択してください:**ミリメートル(mm)**、**センチメートル(cm)**、または**インチ**。
 係数でスケーリングします。例えば:
* **2倍**でサイズを2倍に
* **0.5倍**で半分に
* **1倍**で同じサイズを維持
係数でスケーリングします。例えば:
* **2倍**でサイズを2倍に
* **0.5倍**で半分に
* **1倍**で同じサイズを維持
 モデルを元の寸法のまま維持します。モデルがすでに正しいサイズの場合にご使用ください。
修復前にスケール設定を必ず確認してください。スケールが正しくないモデルは、プリント材料と時間の無駄になります。
Mimakiフルカラープリンターでプリントする場合、プリント可能な造形サイズは最長辺で約\*\*20インチ(508mm)\*\*として扱われます。ラティスインフィルなどの一部の機能は、\*\*25インチ(635mm)\*\*を超えると使用できません。
This documentation is built and hosted on [Mintlify](https://mintlify.com), a developer documentation platform.
モデルを元の寸法のまま維持します。モデルがすでに正しいサイズの場合にご使用ください。
修復前にスケール設定を必ず確認してください。スケールが正しくないモデルは、プリント材料と時間の無駄になります。
Mimakiフルカラープリンターでプリントする場合、プリント可能な造形サイズは最長辺で約\*\*20インチ(508mm)\*\*として扱われます。ラティスインフィルなどの一部の機能は、\*\*25インチ(635mm)\*\*を超えると使用できません。
This documentation is built and hosted on [Mintlify](https://mintlify.com), a developer documentation platform.