> ## Documentation Index
> Fetch the complete documentation index at: https://docs.3dpreppro.com/llms.txt
> Use this file to discover all available pages before exploring further.
# Wall Thickness
> Set the minimum wall thickness for reliable printing
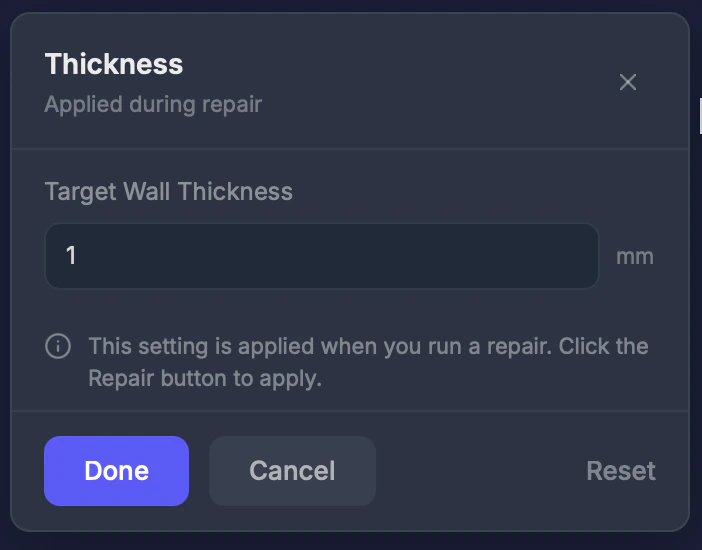 Wall Thickness sets the minimum thickness any wall in your model can have. During repair, walls thinner than this value are automatically thickened.
## When to use this
When your model has delicate features, thin edges, or fine details that might break during printing or post-processing.
## Settings
### Thickness (0–10 mm)
The minimum wall thickness. **Default: 1.0 mm.**
**Recommended values by printer type:**
| Printer | Minimum thickness |
| ------------------- | ----------------- |
| FDM | 1.0–1.5 mm |
| SLA / Resin | 0.5–1.0 mm |
| Full-color (Mimaki) | 0.7–1.0 mm |
| SLS | 0.7–1.0 mm |
## Step by step
Click **Wall Thickness** in the toolbar.
Adjust the value based on your printer's requirements.
This setting takes effect during the next repair.
Setting thickness below **0.5 mm** may result in walls that crumble or break during printing or post-processing.
Wall Thickness sets the minimum thickness any wall in your model can have. During repair, walls thinner than this value are automatically thickened.
## When to use this
When your model has delicate features, thin edges, or fine details that might break during printing or post-processing.
## Settings
### Thickness (0–10 mm)
The minimum wall thickness. **Default: 1.0 mm.**
**Recommended values by printer type:**
| Printer | Minimum thickness |
| ------------------- | ----------------- |
| FDM | 1.0–1.5 mm |
| SLA / Resin | 0.5–1.0 mm |
| Full-color (Mimaki) | 0.7–1.0 mm |
| SLS | 0.7–1.0 mm |
## Step by step
Click **Wall Thickness** in the toolbar.
Adjust the value based on your printer's requirements.
This setting takes effect during the next repair.
Setting thickness below **0.5 mm** may result in walls that crumble or break during printing or post-processing.