> ## Documentation Index
> Fetch the complete documentation index at: https://docs.3dpreppro.com/llms.txt
> Use this file to discover all available pages before exploring further.
# Slice View
> See inside your model with cross-section slicing
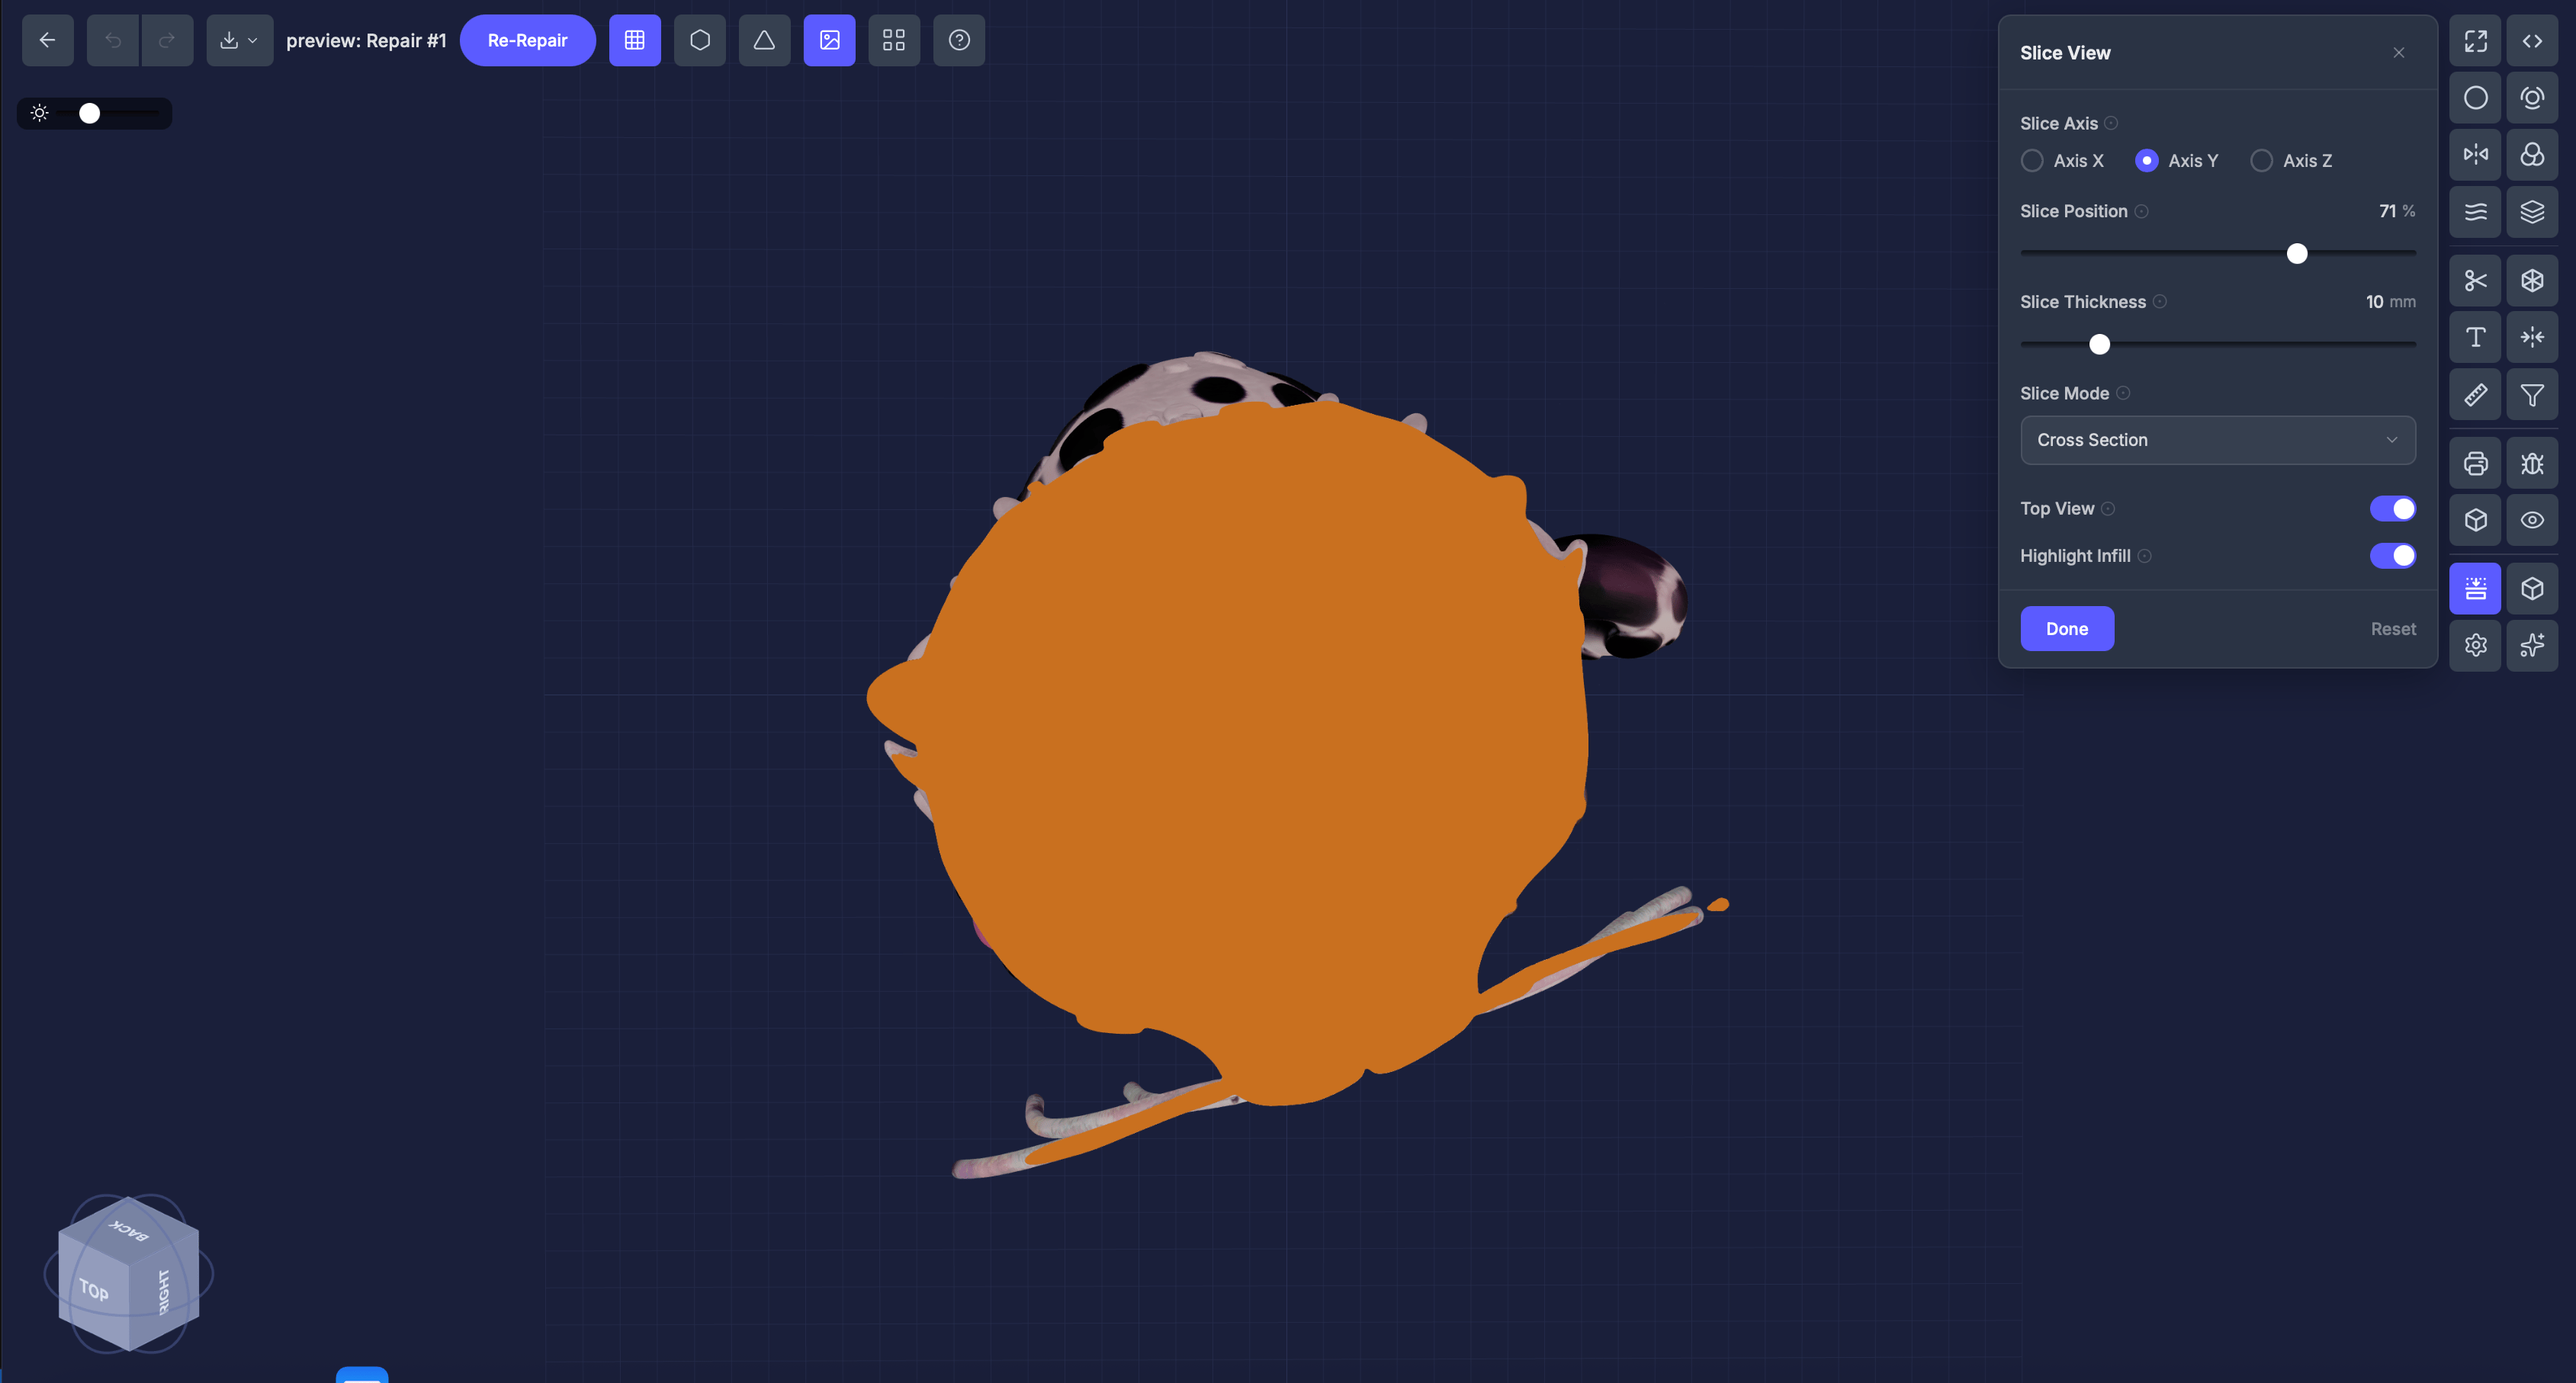 Slice View cuts a virtual cross-section through your model so you can see the internal structure. Especially useful after hollowing or adding lattice infill.
## When to use this
* Verify that [hollowing](/editor/tools/hollow) created even wall thickness
* Check that [lattice infill](/editor/tools/lattice) looks correct inside the model
* Inspect internal geometry for unexpected features
* Visualize how your model will look when sliced for printing
## Settings
### Slice axis
**X**, **Y**, or **Z** — the direction to slice through.
### Position
Drag the slider (0–100 percent) to move the slice plane through the model.
### Slice Thickness (mm)
Thickness of the visible slice. Range **1–50 mm** (default **10**).
### Highlight Infill
Toggle (on by default) that caps the cross-section in steel-blue so the cut surface stands out.
## Step by step
Click **Slice View** in the Inspection Tools section.
Select X, Y, or Z.
Move through the model to inspect different cross-sections.
Keep **Highlight Infill** on to cap the cross-section in steel-blue for clearer visualization of the cut boundary.
## Tips
* Try **all three axes** to get a complete picture of the interior
* After applying lattice, slice through to verify the pattern fills the interior evenly
* Use this alongside [Object Info](/editor/tools/object-info) to understand your model's internal structure
Slice View cuts a virtual cross-section through your model so you can see the internal structure. Especially useful after hollowing or adding lattice infill.
## When to use this
* Verify that [hollowing](/editor/tools/hollow) created even wall thickness
* Check that [lattice infill](/editor/tools/lattice) looks correct inside the model
* Inspect internal geometry for unexpected features
* Visualize how your model will look when sliced for printing
## Settings
### Slice axis
**X**, **Y**, or **Z** — the direction to slice through.
### Position
Drag the slider (0–100 percent) to move the slice plane through the model.
### Slice Thickness (mm)
Thickness of the visible slice. Range **1–50 mm** (default **10**).
### Highlight Infill
Toggle (on by default) that caps the cross-section in steel-blue so the cut surface stands out.
## Step by step
Click **Slice View** in the Inspection Tools section.
Select X, Y, or Z.
Move through the model to inspect different cross-sections.
Keep **Highlight Infill** on to cap the cross-section in steel-blue for clearer visualization of the cut boundary.
## Tips
* Try **all three axes** to get a complete picture of the interior
* After applying lattice, slice through to verify the pattern fills the interior evenly
* Use this alongside [Object Info](/editor/tools/object-info) to understand your model's internal structure