> ## Documentation Index
> Fetch the complete documentation index at: https://docs.3dpreppro.com/llms.txt
> Use this file to discover all available pages before exploring further.
# Hollow
> Create a hollow interior to save material and reduce cost
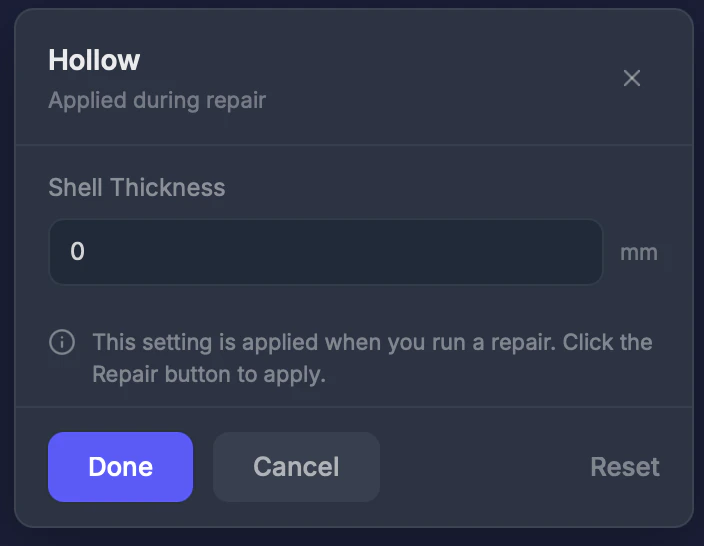 Hollow creates an empty interior inside your model, leaving only a shell of the specified thickness. This dramatically reduces material usage, printing cost, and weight.
## When to use this
For large models where a solid print would waste material, or when you want to reduce weight without changing the outer appearance.
## Settings
### Shell thickness (0–20 mm)
How thick the outer walls should be. Set to **0** to keep the model solid (off). **Default: 0 (off).**
## Step by step
Click **Hollow** in the toolbar.
Enter a value in mm. 2–3 mm works well for most full-color printers.
Hollowing is applied during the repair process.
## Tips
* **2–3 mm** shell thickness is typical for full-color printers
* Make sure the shell is at least as thick as the [Wall Thickness](/editor/tools/thickness) setting
* Use the [Slice View](/editor/tools/slice-view) tool after repair to verify the hollow interior looks correct
Very thin shells (under 1 mm) may not be strong enough to hold their shape after printing.
Hollow creates an empty interior inside your model, leaving only a shell of the specified thickness. This dramatically reduces material usage, printing cost, and weight.
## When to use this
For large models where a solid print would waste material, or when you want to reduce weight without changing the outer appearance.
## Settings
### Shell thickness (0–20 mm)
How thick the outer walls should be. Set to **0** to keep the model solid (off). **Default: 0 (off).**
## Step by step
Click **Hollow** in the toolbar.
Enter a value in mm. 2–3 mm works well for most full-color printers.
Hollowing is applied during the repair process.
## Tips
* **2–3 mm** shell thickness is typical for full-color printers
* Make sure the shell is at least as thick as the [Wall Thickness](/editor/tools/thickness) setting
* Use the [Slice View](/editor/tools/slice-view) tool after repair to verify the hollow interior looks correct
Very thin shells (under 1 mm) may not be strong enough to hold their shape after printing.