> ## Documentation Index
> Fetch the complete documentation index at: https://docs.3dpreppro.com/llms.txt
> Use this file to discover all available pages before exploring further.
# Close Holes
> Automatically fill gaps and openings in your model
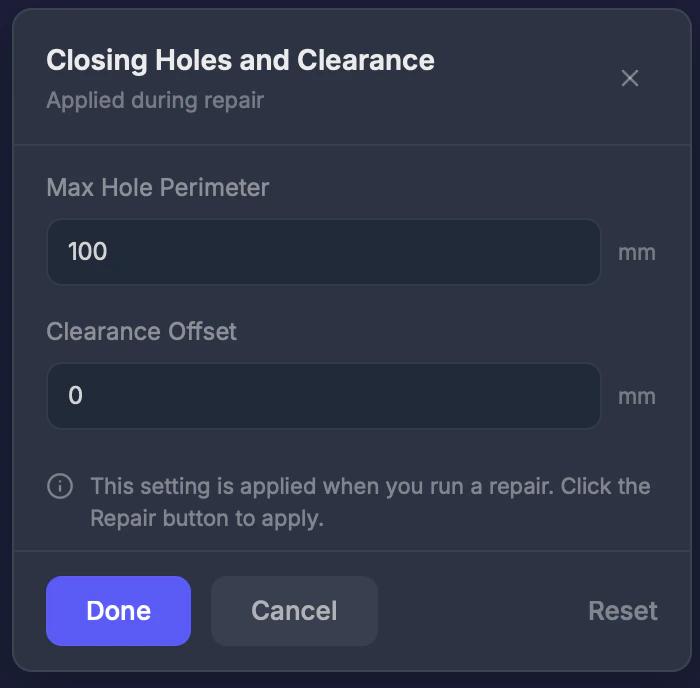 Close Holes detects open holes in your model's surface and fills them to create a sealed, print-ready model.
## When to use this
When your model has visible holes or gaps — common in models exported from sculpting software or game engines where surfaces aren't always sealed.
## Settings
### Max perimeter (0–1000 mm)
Only close holes smaller than this perimeter. **Default: 100 mm.** Set higher to close larger openings.
### Clearance offset (0–10 mm)
Add extra spacing around closed holes. **Default: 0 mm.**
## Step by step
Click **Close Holes** in the toolbar.
Set how large a hole can be before it's left open.
Hole closing is applied during the repair process.
## Tips
* Small holes (under 10 mm perimeter) are usually modeling artifacts — close them freely
* Large holes may be **intentional** (like the bottom of a vase or a window opening). Set the max perimeter lower to preserve them.
* Use the [Errors](/editor/tools/errors) tool to see how many holes exist before repair
Close Holes detects open holes in your model's surface and fills them to create a sealed, print-ready model.
## When to use this
When your model has visible holes or gaps — common in models exported from sculpting software or game engines where surfaces aren't always sealed.
## Settings
### Max perimeter (0–1000 mm)
Only close holes smaller than this perimeter. **Default: 100 mm.** Set higher to close larger openings.
### Clearance offset (0–10 mm)
Add extra spacing around closed holes. **Default: 0 mm.**
## Step by step
Click **Close Holes** in the toolbar.
Set how large a hole can be before it's left open.
Hole closing is applied during the repair process.
## Tips
* Small holes (under 10 mm perimeter) are usually modeling artifacts — close them freely
* Large holes may be **intentional** (like the bottom of a vase or a window opening). Set the max perimeter lower to preserve them.
* Use the [Errors](/editor/tools/errors) tool to see how many holes exist before repair